
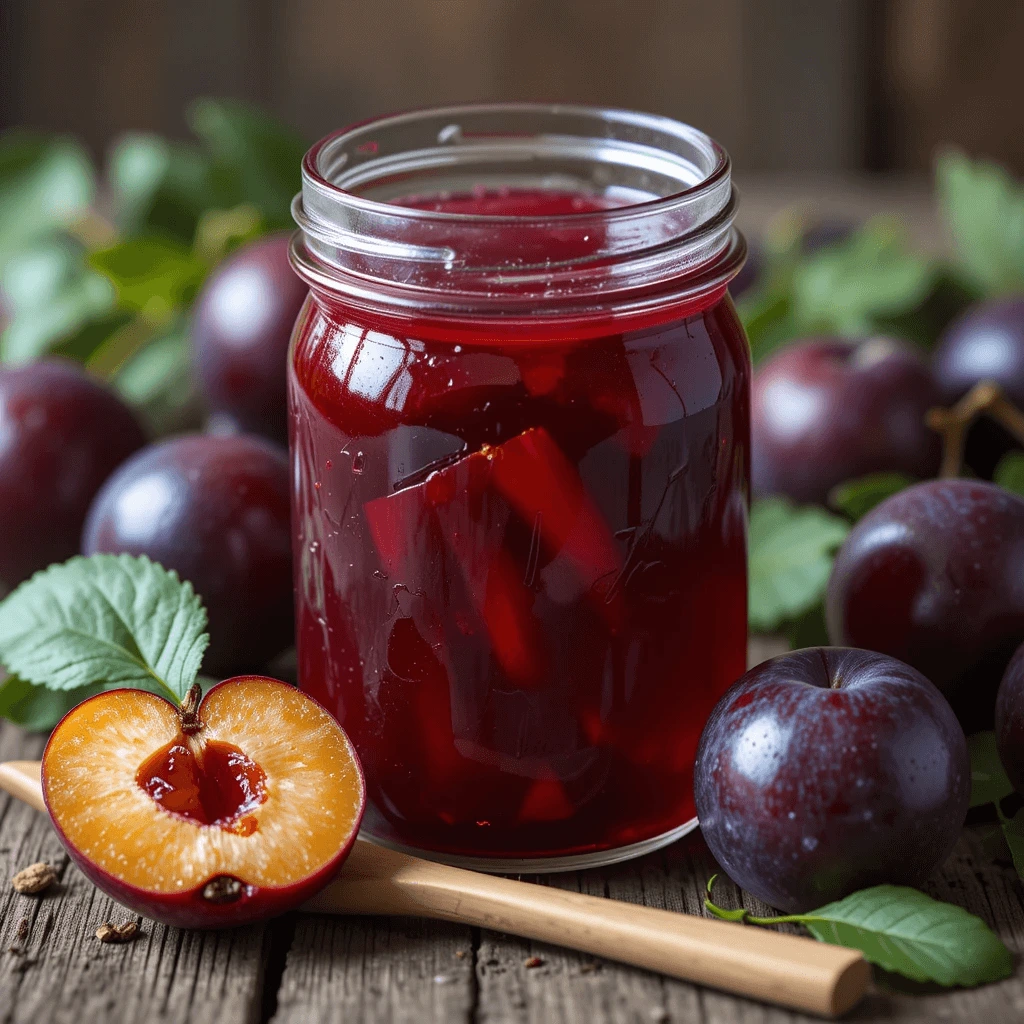
If you’ve ever tasted a spoonful of sweet, slightly tart plum jelly made from scratch, you know it’s hard to go back to store-bought versions. This recipe teaches you how to make plum jelly without pectin, using a traditional, old-fashioned method that lets the natural fruit shine. It’s a simple, satisfying process that uses only a few basic ingredients—no store-bought pectin, preservatives, or complicated steps.
Plums naturally contain pectin in their skins, especially when they’re just slightly under-ripe. That means with the right technique, you can make a beautifully set jelly that’s clear, flavorful, and completely homemade—all without needing to buy anything extra. Whether you’re preserving a backyard harvest or just found a deal at the farmers market, this method is both cost-effective and deeply rewarding.
In this guide, you’ll learn how to extract juice from fresh plums, how to cook it to the perfect jelly consistency, and how to preserve it safely in jars. We’ll also cover flavor variations, expert tips, and the best ways to serve or gift your jelly.
This old-fashioned plum jelly recipe is more than just a kitchen project—it’s a way to connect with a slower, simpler style of cooking. And the results? A stunning, jewel-toned jelly that adds homemade charm to toast, desserts, and more.
Key Benefits of Making Plum Jelly Without Pectin
Choosing to make plum jelly without pectin has several practical and flavorful benefits. This old-fashioned method doesn’t just simplify the process—it also delivers a more natural, homemade result that stands out in both taste and texture.
1. No Artificial Additives
One of the biggest advantages is that you don’t need commercial pectin. Most store-bought pectin contains additives or preservatives, which many home cooks prefer to avoid. By relying on the natural pectin in plum skins, you keep the ingredient list clean and simple.
2. Full Fruit Flavor
When you don’t add extra pectin, the fruit juice is allowed to cook longer. This deeper simmer develops a more concentrated plum flavor, resulting in a jelly that tastes rich, fruity, and authentic. The sweetness comes through naturally, without being overly sugary.
3. Easier to Control Sweetness
Many pectin-based recipes require high sugar levels to activate the gelling process. This traditional method gives you more flexibility. You can adjust the sugar to match the ripeness of your plums or your own taste, creating a lower-sugar jelly if you prefer.
4. Budget-Friendly
If you have access to fresh or wild plums, this jelly can be made almost entirely from pantry staples. There’s no need to buy additional thickening agents or specialty ingredients. It’s an affordable way to preserve fruit and enjoy it all year long.
5. Time-Tested and Reliable
This is the way jelly was made for generations—with just fruit, sugar, and time. It’s a proven method that produces consistently great results with a little patience and a watchful eye on the stove. No need for high-tech tools or special equipment.
6. Shelf-Stable and Great for Gifting
Once processed in a boiling water bath, this jelly becomes shelf-stable for up to a year. It’s perfect for stocking your pantry or sharing as a thoughtful homemade gift. Add a simple label and ribbon, and you’ve got a beautiful, edible present.
7. Naturally Vegan and Gluten-Free
With no animal-based or gluten-containing ingredients, this plum jelly fits into most dietary needs without any special substitutions. It’s a great option for those looking for simple, plant-based preserves.
Ingredients
This old-fashioned plum jelly recipe without pectin uses only a handful of essential ingredients. Each component plays a critical role in achieving the right consistency, flavor, and safety for home canning.
Core Ingredients
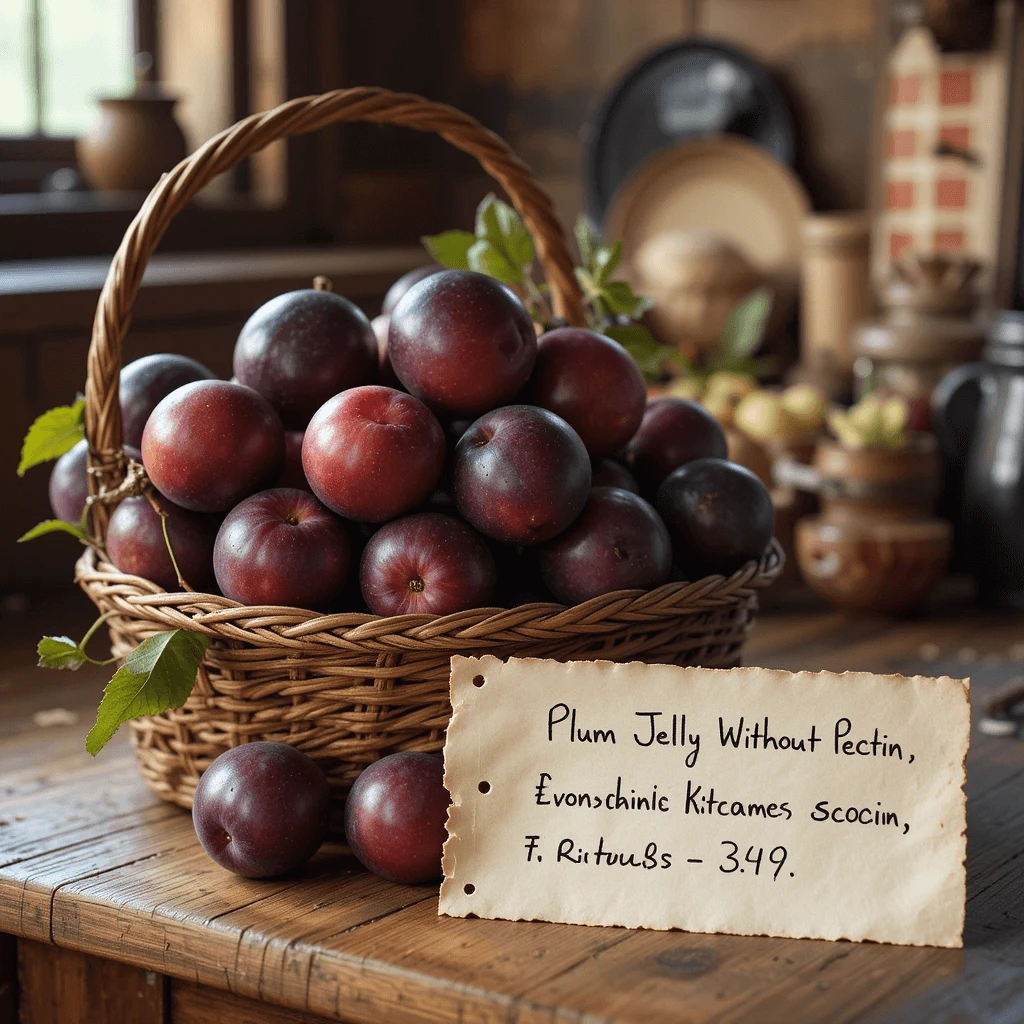
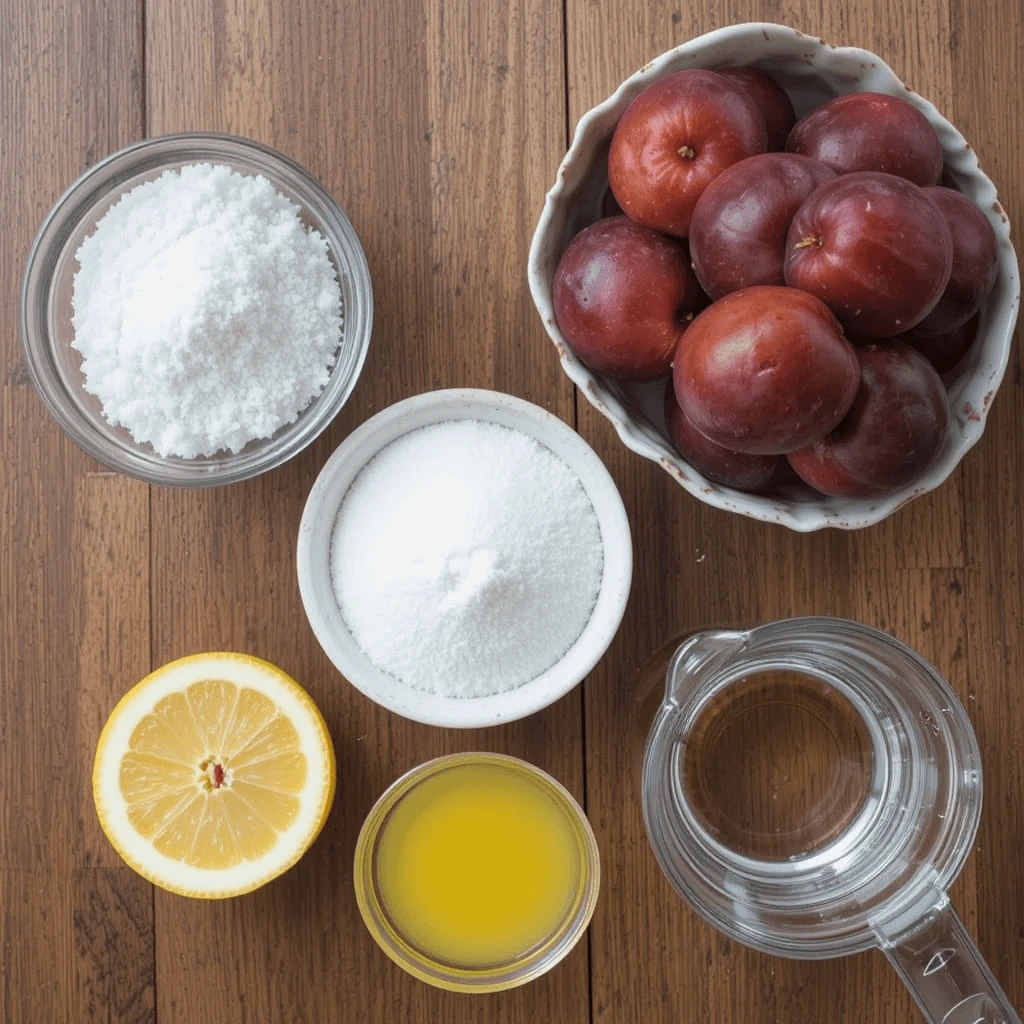
4 pounds ripe plums
Use slightly under-ripe plums if possible, as their skins and flesh contain more natural pectin, which helps the jelly set without any added thickener. Red, black, or wild plums all work well. Avoid overripe or mushy fruit.
5 cups granulated sugar
White sugar provides structure, sweetness, and acts as a preservative. Do not reduce the amount drastically or substitute with honey or alternative sweeteners, as this may prevent proper gelling and reduce shelf life.
1/4 cup lemon juice (freshly squeezed)
Lemon juice enhances the tartness and helps bring out the plum flavor. It also increases acidity, which activates the natural pectin and ensures safe canning.
1/2 cup water (optional)
This is only used during the cooking process to help the plums release their juice more easily during the first simmer. You can omit it if the plums are very juicy.
Recommended Equipment
While not ingredients, having the right tools makes the process much smoother and safer:
- Large, heavy-bottom pot (non-reactive)
- Jelly bag, cheesecloth, or fine mesh strainer
- Canning funnel and ladle
- Sterilized half-pint or pint mason jars with lids and rings
- Large water bath canner or deep stockpot with rack
- Tongs or jar lifter
With just these ingredients and tools, you’re ready to make a rich, flavorful plum jelly from scratch, without store-bought pectin or artificial preservatives.
Instructions
This plum jelly recipe without pectin follows a traditional, straightforward process. Take your time and follow each step carefully for the best results. From cooking the fruit to sealing the jars, every part of the process contributes to the jelly’s flavor, texture, and shelf life.
1: Prepare the Plums
- Wash the plums under cool running water to remove any dirt or residue.
- Cut the plums in half and remove the pits. There is no need to peel the skins, as they contain most of the natural pectin needed for the jelly to set.
- Chop the plums roughly into chunks.
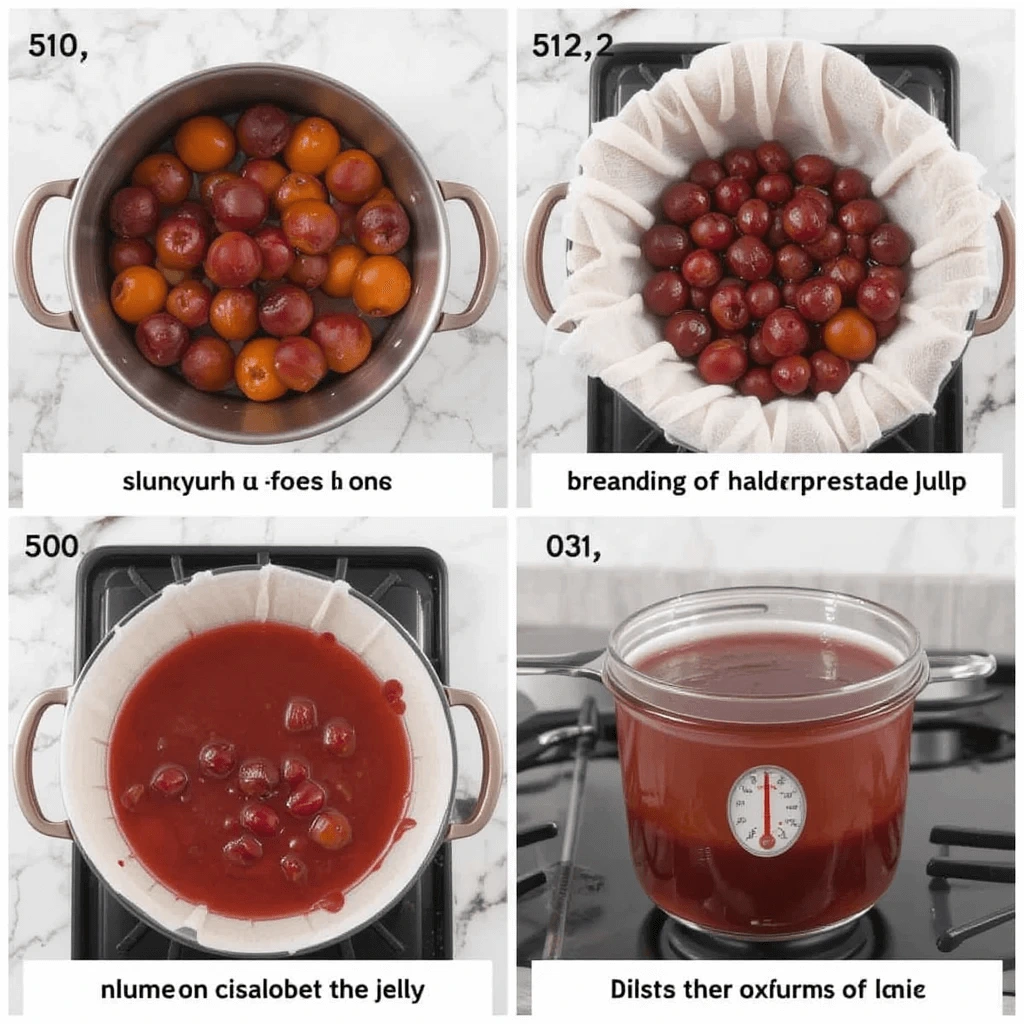
2: Extract the Plum Juice
- Place the chopped plums in a large, non-reactive pot (such as stainless steel or enamel-coated).
- Add 1/2 cup of water to help the fruit release its juice. This is optional but useful if the plums are not very juicy.
- Bring the mixture to a boil over medium-high heat, then reduce to a simmer.
- Simmer for 20–25 minutes, stirring occasionally, until the fruit is soft and broken down.
3: Strain the Juice
- Line a colander or sieve with a jelly bag, several layers of cheesecloth, or a clean, thin dish towel.
- Set the lined strainer over a large bowl or pot.
- Pour the cooked plum mixture into the strainer and allow the juice to drip through naturally for 2 to 4 hours. For clearer jelly, do not press or squeeze the pulp, as this will cloud the juice.
You should yield approximately 4 cups of juice. If you have slightly more or less, adjust the sugar ratio accordingly (1.25 cups sugar per 1 cup juice).
4: Cook the Jelly
- Pour the plum juice into a clean pot.
- Add the lemon juice and sugar. Stir well to dissolve.
- Bring the mixture to a rolling boil over medium-high heat.
- Boil uncovered, stirring frequently, for about 20 to 30 minutes, or until the jelly reaches the gel point (220°F at sea level).
5: Test for Doneness
There are three reliable ways to test if the jelly is ready:
- Temperature Test: Use a candy or jelly thermometer. When the mixture reaches 220°F (adjust for altitude if needed), it’s ready.
- Sheet Test: Dip a spoon into the jelly and let it cool for a few seconds. Tilt the spoon; if the jelly forms a sheet instead of dripping off, it’s done.
- Cold Plate Test: Place a small spoonful of jelly on a chilled plate. Let it sit for a minute. If it wrinkles when pushed with your finger, it has set.
If the jelly isn’t ready, continue boiling and test again every 3–5 minutes.
6: Fill and Seal the Jars
- While the jelly is cooking, sterilize your mason jars by boiling them in water for 10 minutes. Keep them hot until ready to use.
- When the jelly is ready, skim off any foam on top with a spoon.
- Use a canning funnel to fill the jars, leaving 1/4-inch headspace at the top.
- Wipe the rims clean with a damp cloth to ensure a good seal.
- Place lids on the jars and screw on the rings until fingertip-tight.
7: Process in a Water Bath
- Place the filled jars in a boiling water bath canner or deep stockpot with a rack.
- Make sure the jars are covered by at least 1 inch of water.
- Bring to a full boil and process for 10 minutes (adjust for altitude as needed).
- Carefully remove jars with tongs or a jar lifter and set them on a towel-lined counter.
- Let them cool undisturbed for 12 to 24 hours.
After cooling, check that each lid has sealed. A properly sealed lid will not flex when pressed in the center.
This process might take a bit of time, but the result is a beautifully clear, richly flavored homemade plum jelly that sets perfectly without any added pectin.
Pro Tips and Variations
Making plum jelly without pectin can be simple, but a few extra tips and tricks help ensure your jelly turns out perfectly every time. Plus, there are easy ways to customize the recipe to suit your taste and available ingredients.
Pro Tips for Success
- Choose the Right Plums: Slightly under-ripe plums have the highest natural pectin, which is essential for the jelly to set. If your plums are very ripe and soft, consider adding a small amount of apple or quince juice (both high in pectin) to boost the gel.
- Don’t Rush Straining: Letting the juice drip naturally through the jelly bag or cheesecloth ensures your jelly will be clear. Avoid squeezing the pulp, as it adds cloudiness and can make the jelly bitter.
- Keep a Close Eye While Boiling: Jelly can quickly go from perfect to overcooked. Stir frequently to prevent burning and test the set early once you reach a rolling boil.
- Use a Candy or Jelly Thermometer: It’s the most reliable way to check for the gel point (220°F). If you don’t have one, rely on the cold plate or sheet tests to avoid under or overcooking.
- Sterilize Jars Properly: Always use sterilized jars and lids to prevent spoilage. Keep the jars warm until filling to avoid cracking when adding hot jelly.
Flavor Variations
- Spiced Plum Jelly: Add a small cinnamon stick, a few whole cloves, or a star anise pod to the juice while it simmers. Remove the spices before adding sugar and boiling the jelly.
- Mixed Fruit Jelly: Combine plums with apples or blackberries for a unique flavor and additional pectin. Adjust sugar based on the sweetness of the fruit mix.
- Citrus Twist: Add extra lemon or a splash of orange juice for a brighter, more tart jelly.
- Reduced Sugar Option: If you prefer less sweetness, reduce sugar by 10-20%. Be aware this may slightly affect the jelly’s set and shelf life. Test the gel carefully.
Fixing Common Issues
- Runny Jelly: If your jelly doesn’t set after cooling, you can re-cook it with a little added pectin or fruit juice high in natural pectin. Alternatively, boil it longer and test frequently.
- Cloudy Jelly: Usually caused by squeezing the fruit pulp during straining or stirring vigorously after the jelly sets. To avoid this, strain gently and handle the jelly with care.
- Foam on Top: This is normal during boiling. Skim it off with a spoon for a clearer jelly.
These tips and variations help you make a plum jelly that’s uniquely yours while keeping the traditional charm of an old-fashioned, no-pectin recipe.
Serving Suggestions
Homemade plum jelly without pectin is a versatile treat that adds a burst of natural fruit flavor to many dishes. Its clear, vibrant texture and balanced sweetness make it perfect for both everyday use and special occasions.
Classic Ways to Enjoy Plum Jelly
- Spread on Toast or Biscuits: Nothing beats warm toast or freshly baked biscuits topped with a generous layer of plum jelly. The natural tartness brightens breakfast or afternoon tea.
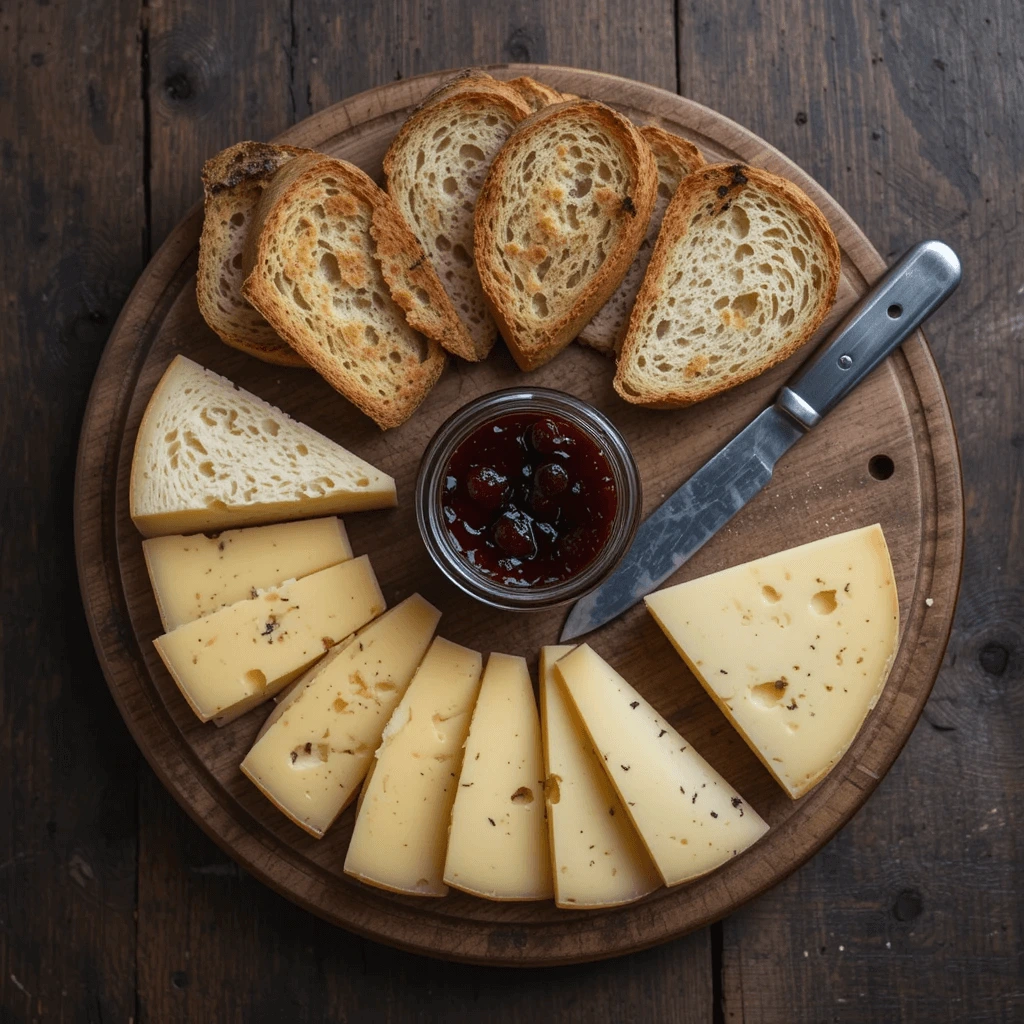
- Accompany Cheese Plates: Plum jelly pairs wonderfully with a variety of cheeses—sharp cheddar, creamy brie, or tangy goat cheese. Use it as a sweet contrast on a cheese board or charcuterie platter.
- Glaze for Meats: Brush plum jelly on grilled chicken, pork, or ham during the last few minutes of cooking. The jelly caramelizes slightly, adding a glossy finish and subtle fruit flavor.
- Swirled Into Yogurt or Oatmeal: Stir a spoonful into plain yogurt or hot oatmeal for a naturally sweetened breakfast or snack.
- Dessert Topping: Use plum jelly as a topping for ice cream, cheesecake, or pound cake. Its bright color and flavor add both beauty and taste.
Gift Ideas
Homemade plum jelly makes a thoughtful gift for holidays, housewarmings, or hostess presents. Package the jars with a simple label and ribbon for a personal touch. Including serving suggestions or pairing notes makes the gift even more special.
These serving ideas highlight the flexibility and charm of your homemade plum jelly, encouraging readers to enjoy it in many delicious ways.
Conclusion
Making plum jelly without pectin is a rewarding way to preserve the fresh, natural flavor of plums using a simple, old-fashioned method. By relying on the fruit’s own natural pectin and following straightforward steps, you can create a clear, perfectly set jelly without any added thickeners or preservatives.
This recipe offers flexibility, allowing you to adjust sweetness and try flavor variations to suit your taste. Whether enjoyed on toast, paired with cheese, or used as a glaze, homemade plum jelly adds a touch of seasonal charm to everyday meals.
With proper preparation and care, your jars of plum jelly will store well for months, providing delicious reminders of summer’s bounty long after the fresh fruit is gone. Embrace this timeless tradition and enjoy the satisfaction of making your own preserves from scratch.
FAQs
Past Your Quetions Here
Q: Can I make plum jelly without pectin?
Yes, this recipe shows how to make plum jelly using the natural pectin found in the fruit itself, without adding commercial pectin.
Q: How do I know when plum jelly is done?
The jelly is ready when it reaches 220°F on a candy thermometer, or it passes the cold plate test (wrinkles when touched).
Q: Can I use any type of plum for jelly?
Most plums work well, but slightly underripe plums have higher natural pectin and yield better jelly. Avoid overripe or damaged fruit.
Q: How long does homemade plum jelly last?
When properly canned and sealed, plum jelly can last up to one year stored in a cool, dark place.
Q: Can I reduce the sugar in this recipe?
You can reduce sugar slightly, but too little sugar may affect the jelly’s set and shelf life.
Q: Do I have to peel the plums?
No, peeling is not necessary. The skins contain natural pectin essential for the jelly to set.
Q: What if my jelly doesn’t set?
If the jelly is runny after cooling, you can re-cook it with added high-pectin juice or boil longer, testing frequently.
Q: Can I use frozen plums for this recipe?
Yes, frozen plums work but may yield more cloudy jelly. Thaw and cook as directed.
Recipe Details
- Prep Time: 30 minutes (plus 2-4 hours for juice straining)
- Cook Time: 1 hour (including boiling and jelly cooking)
- Total Time: Approximately 4 to 6 hours (including straining and cooling)
- Servings: Makes about 6 half-pint jars
- Calories: Approximately 70 calories per tablespoon serving
Nutrition Information (Per Tablespoon Serving)
- Calories: 70 kcal
- Total Fat: 0 g
- Saturated Fat: 0 g
- Cholesterol: 0 mg
- Sodium: 0 mg
- Total Carbohydrates: 18 g
- Dietary Fiber: 0.2 g
- Sugars: 17 g
- Protein: 0.1 g
Categorization
- Course: Condiment / Spread
- Cuisine: American / Traditional
- Diet: Vegetarian, Vegan, Gluten-Free
- Method: Boiling, Water Bath Canning
- Keyword: Plum Jelly Without Pectin
- Skill Level: Intermediate (requires basic canning knowledge)
Link to official food safety guidelines for home canning:
USDA Complete Guide to Home Canning
For a delightful twist, try pairing your homemade plum jelly with rich chocolate desserts. Our Crumbl Chocolate Chip Cookies At Home perfectly complements the fruity sweetness of plum jelly for an indulgent treat.